DIY Felt Board
We are huge fans of felt stories over here! Our favorite uses are to accompany reading time, for playing games, and creating scenes. The possibilities really are endless. Our old felt board was well loved and on a heavy board. I was on a mission to make a new one that was cleaner, lighter and fairly cheap. I accomplished both! In fact, it ended up being so cheap I made three to rotate. I mean we need different backgrounds for different stories right?
I went to a local craft store and purchased the cheapest 18 x 24 canvases I could find. They actually came in packs of 2 for $8.99. Then I added solid colored flannel to the cart which totaled $2.49 each. I chose colors that could resemble grass, sky/water, and one neutral color. However, you could choose any pattern or color your heart desires. I already had an industrial stapler and staples on hand. My total investment was only about $7 a board!
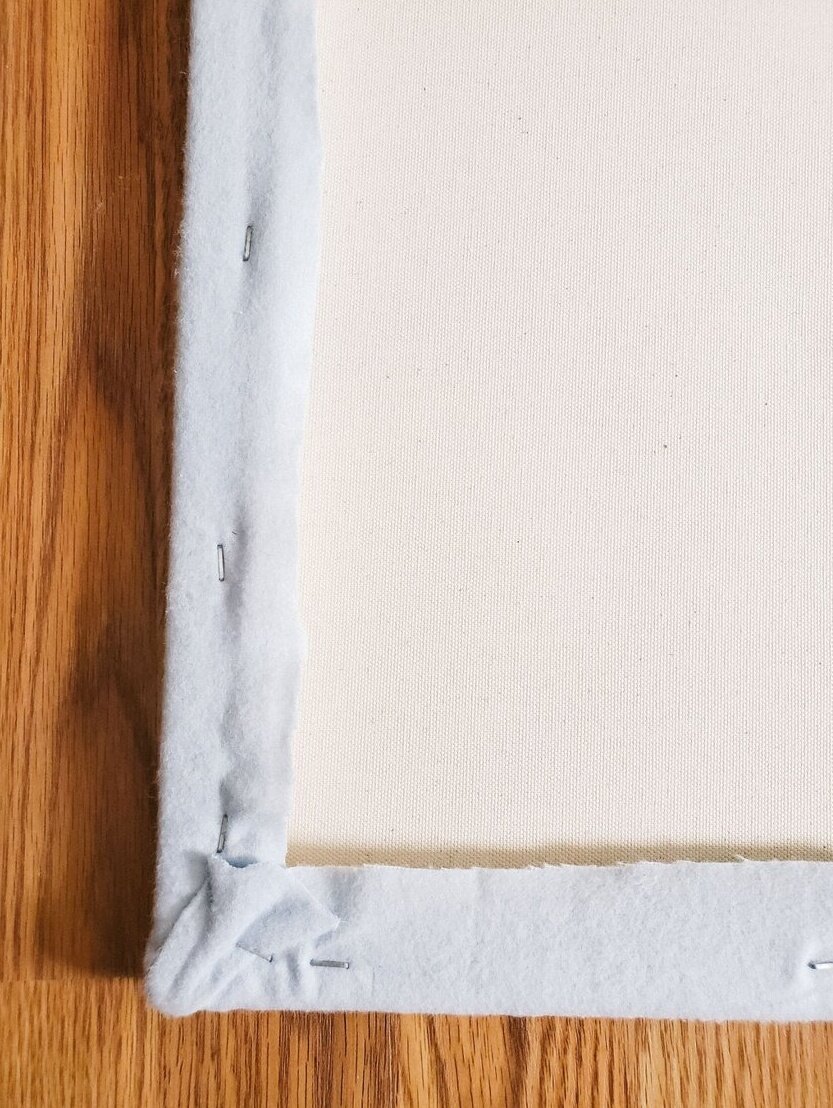
At home, I laid out all of the items, turned on Hamilton (anyone still obsessed?) and got to work. I ironed each of the pieces of fabric. While on this step, check for any fading on the fabric. My blue and green had a faded line from being under the fluorescent lights at the store. I simply faced that side toward the canvas rather than out. Then one by one I stretched the fabric over the canvas and stapled on the back. Then I cut the excess fabric.
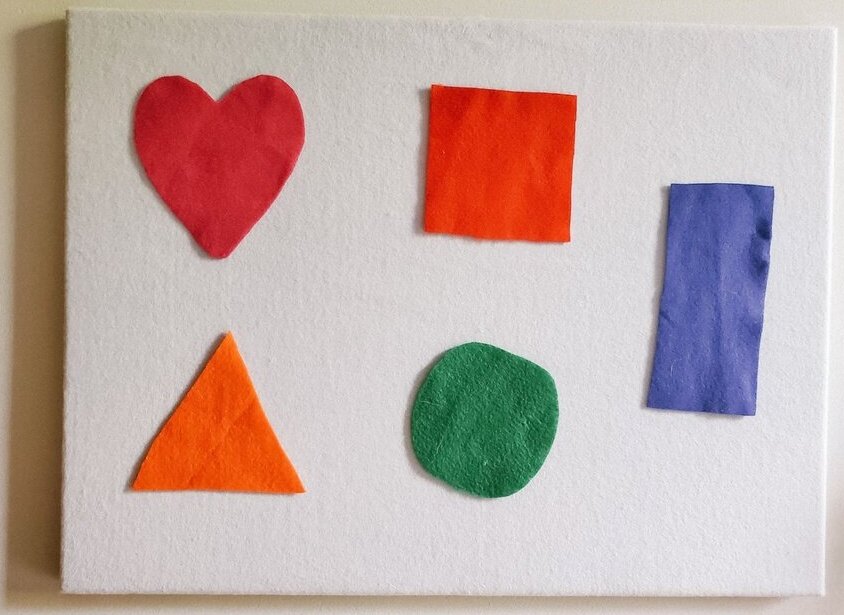
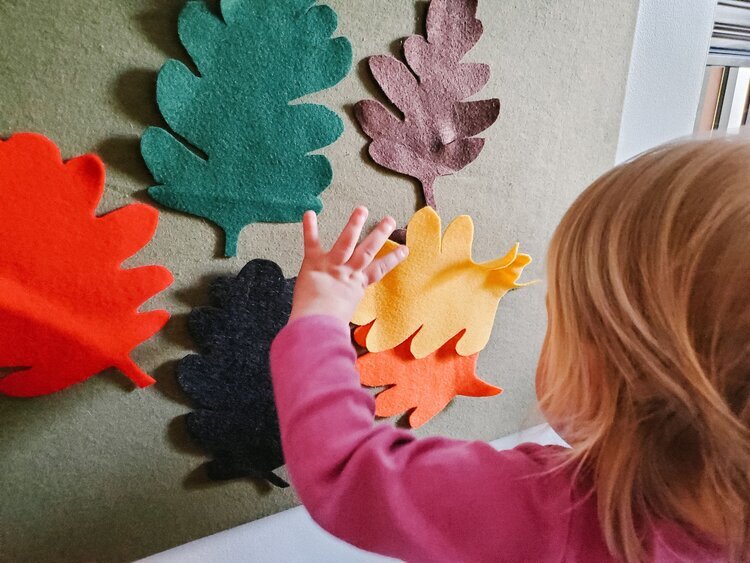
It really was that simple. I hung the first board in my one year old’s bedroom. I accompanied it with simple felt shapes. She loved pulling them down and touching them. Eventually, she figured out how to put them back up so she has lots of fun with pulling them down and replacing them.
I am excited to share our felt play throughout the year. I would love to see how you use your felt boards at home and school. Tag @playbeyondthelines on Instagram or share your fun in the comments below!