
DIY Pom Poms by Hand
I was pleasantly surprised at how easy it was to make our own pom poms. Now my mind is reeling on how I will use this new found skill. Holiday garland, ornaments, table accents, looseparts, playscapes… I will be overloaded soon I am sure. If you wish to feed into my new obsession, feel free to share your pom pom ideas in the comments.

Materials:
You can purchase pom pom makers (such as this one) that adjust to make various sized pom poms. I may eventually invest in one as they are pretty inexpensive. However, the directions below are for making pom poms by hand. They are easy enough for now so I don’t want to make an unnecessary purchases. Here is what you need to make pom poms by hand.
Yarn
Scissors- be sure they are decent scissors that can easily cut the yarn
Optional- toilet paper roll or other item to wrap the yarn around if preferred over using your hand

Directions:
Begin by selecting the yarn you want for your pom poms. Cut a piece approximately 6-8 inches long and set aside. Then place the end of the yarn (from the roll) between two fingers. Wrap the yarn around your fingers 50-100 times. You can adjust how many fingers you use to wrap the yarn as well as how many times you wrap it. Use the information below to gauge your creation.
The more fingers used to wrap the yarn around = the larger the pom pom will be
Less fingers used to wrap the yarn around = the pom pom will be smaller
The more times you wrap the yarn = the fuller the pom pom will be
Less times wrapped around = a pom pom that will not be as full
For example, if you are making a garland and prefer full but small pom poms then you may want to wrap the yarn around 2 or 3 fingers 100 times.
If you do not want to wrap the yarn around your fingers or are using this for young children, you may prefer to use a toilet paper roll. The process is the same only your hand isn’t taken over by yarn.

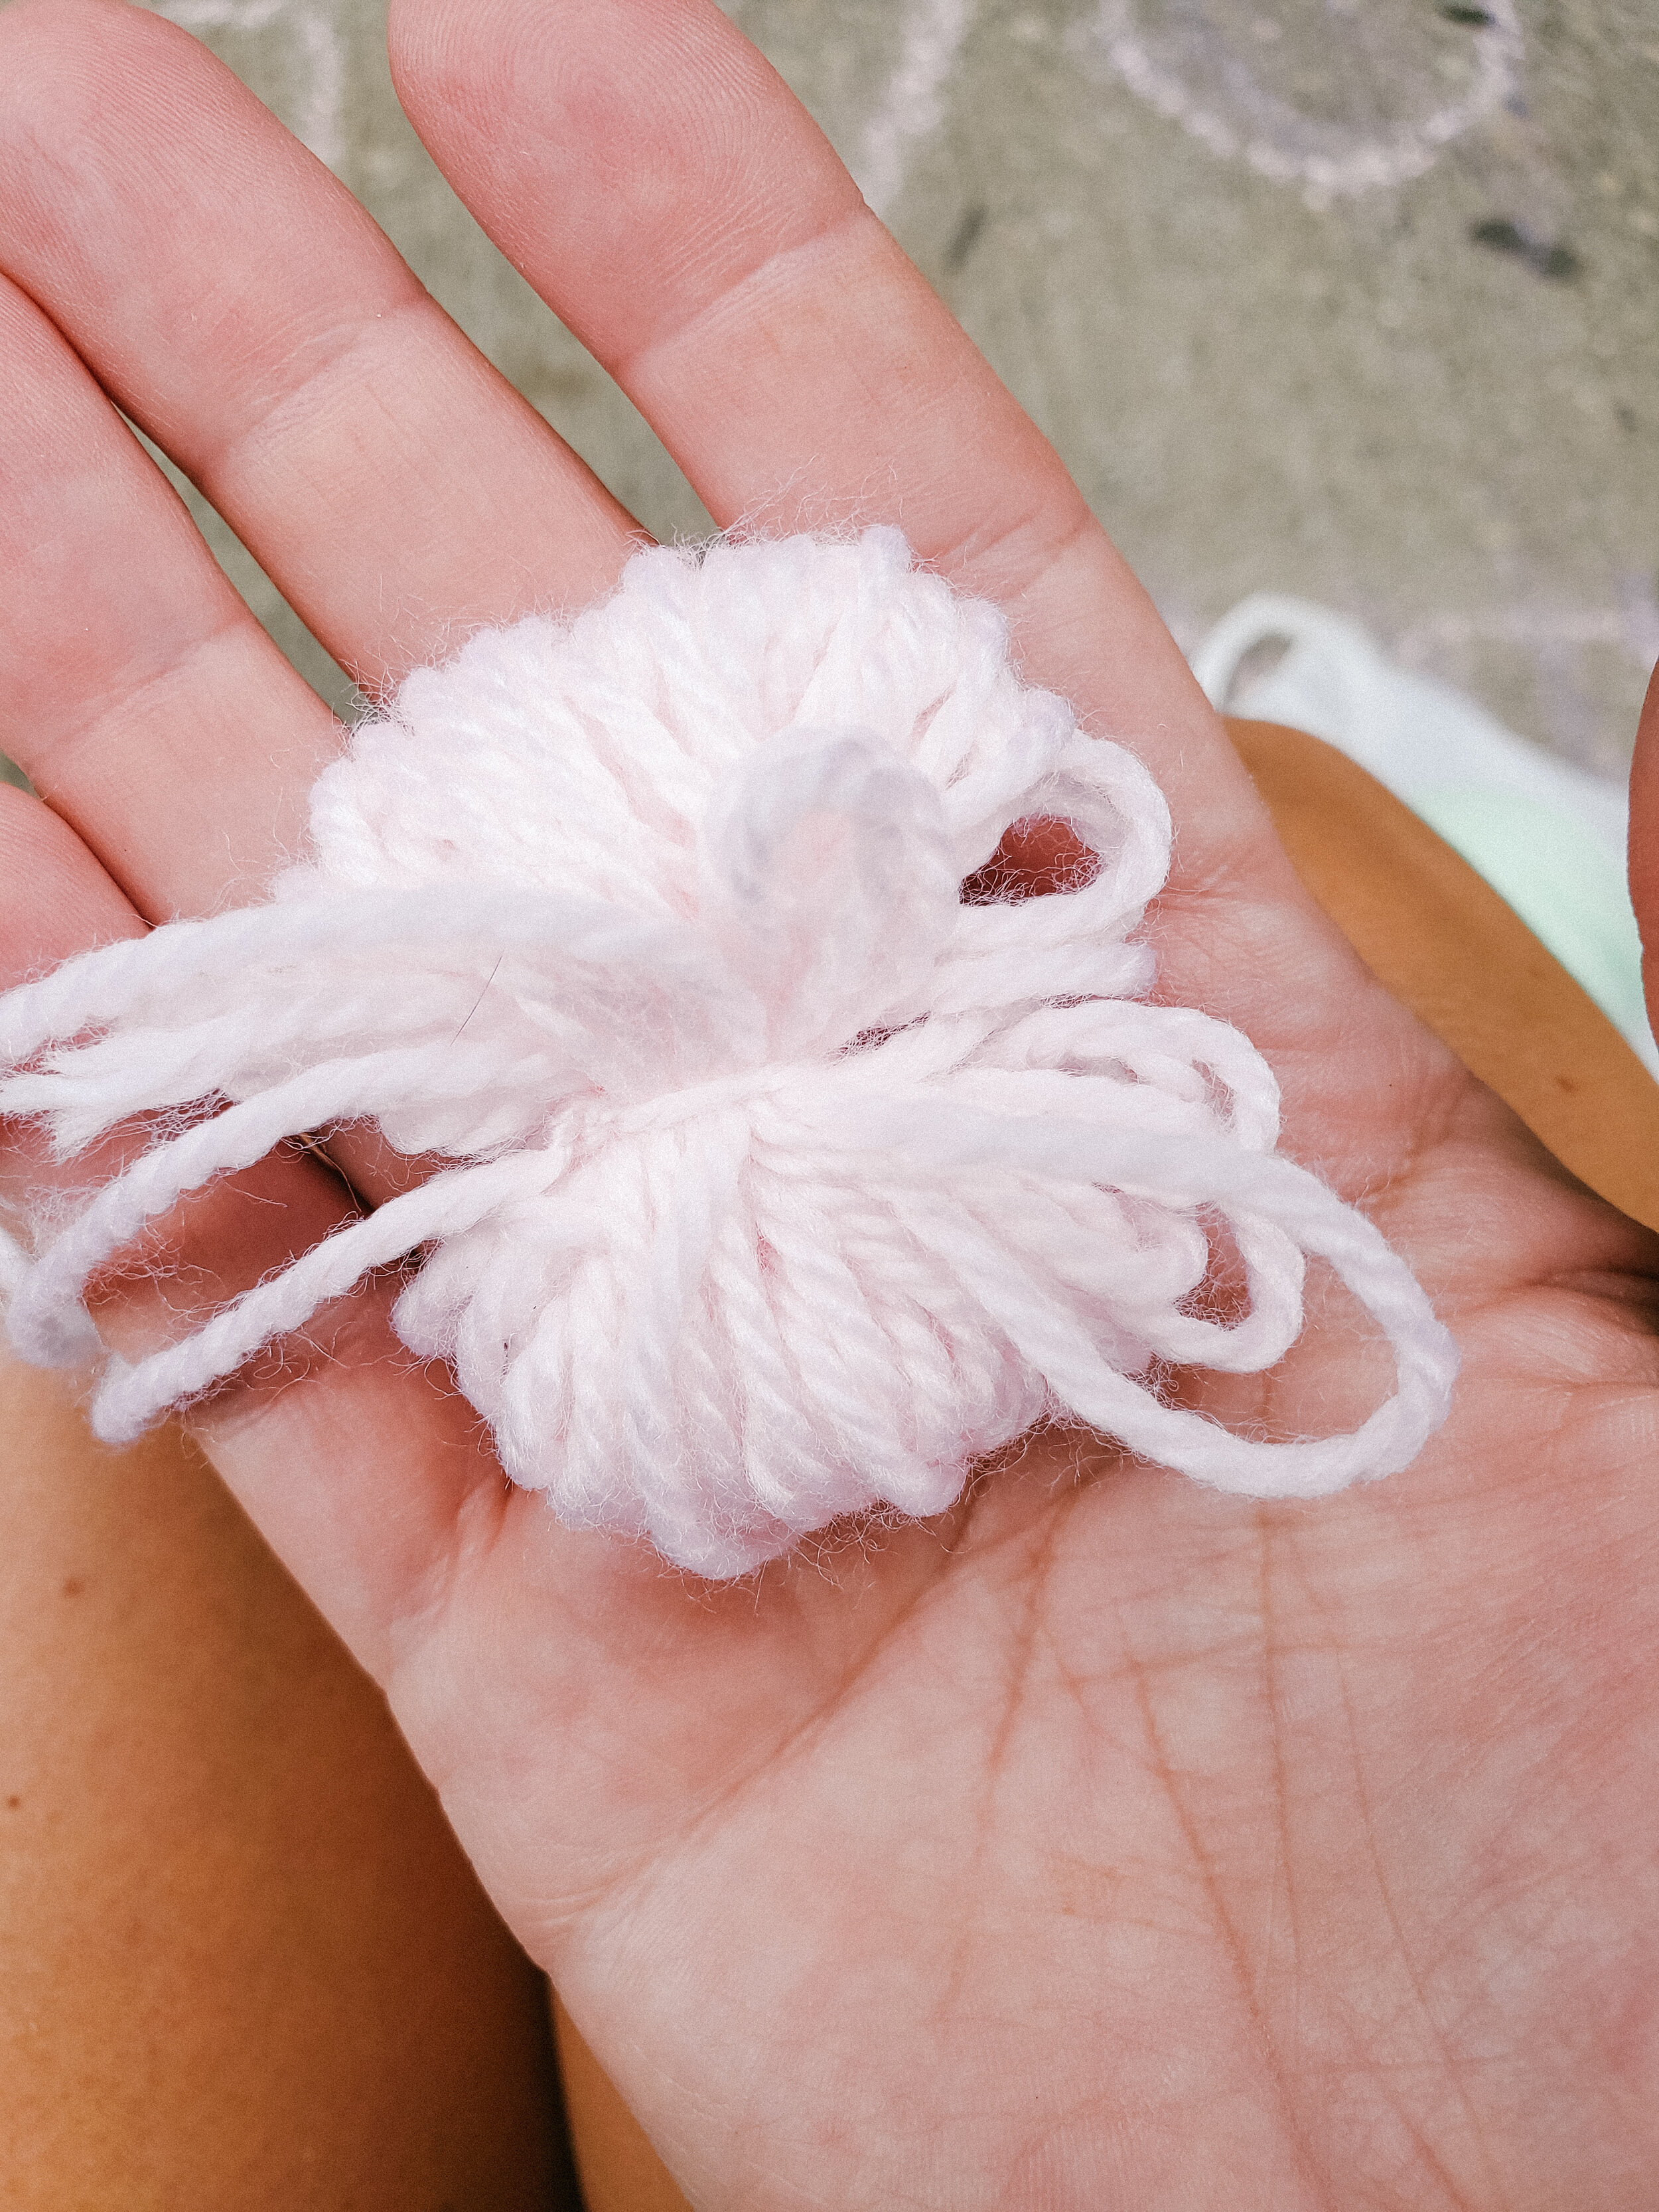
Once the yarn is wrapped as many times as desired, you will hold the shape but pull the yarn from your fingers. Use the first piece of yarn you cut to wrap around the wrapped yarn and tie a tight knot. The kids referred to this as the pom poms belt. They did need a little help tying the knot tightly enough. Once the knot is tied both ends will have loops. You will use the scissors to cut the loops leaving loose ends in their place. Once all of the loops are cut, use the scissors to trim all around the pom pom until you have the desired length.
It is as simple as that. The entire process is quick. Once I completed a few it was pretty seamless.
So what will you make pom poms for? Tell us below. Be sure to save this post to refer back to later. Share this with your fellow craft lovers who haven’t made the leap into pom pom making.
We receive a small commission, at no additional cost to you, when you purchase from an affiliate link.